No edit summary |
|||
| Line 54: | Line 54: | ||
===[[Kounat's Collapse]]=== |
===[[Kounat's Collapse]]=== |
||
| − | ==== |
+ | ====Ashtaroth==== |
[[File:Secret_Project_Achemedia_Final_Monster_07.png|thumb|300px|Ashtaroth]] |
[[File:Secret_Project_Achemedia_Final_Monster_07.png|thumb|300px|Ashtaroth]] |
||
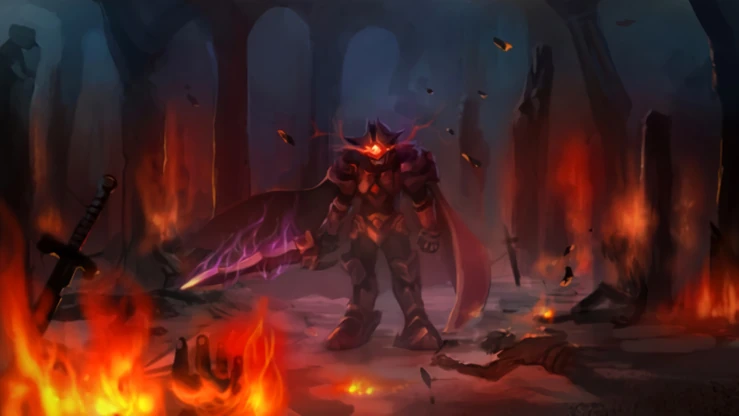
His self-proclaimed "true form", normal Ashtaroth appears many times as large than his previous appearances and is armed with a massive sword. |
His self-proclaimed "true form", normal Ashtaroth appears many times as large than his previous appearances and is armed with a massive sword. |
||
| Line 60: | Line 60: | ||
In his first form, Ashtaroth attacks are upgraded versions of his regular attacks. The sword and magic combo creates flames when attacking with the sword and finishes with a dark sphere similar to Thanatos' attack, dealing way more damage but is very clunky and slow. Ashtaroth may also attack with an upgraded version of [[Spell Knight]]'s Kanavan Strike, summoning larger swords and employing them in full-map range; the swords can appear anywhere and at a random but set pattern. When the "JUMP" warning appears, he will deal a heavy attack with his sword slamming the ground; players will also be damaged if they are hit by his sword. Ashtaroth will occasionally banish his sword to use a technique similar to [[Prime Knight]]'s Birth of Blades, summoning red lasers that home in on the player's location; following the laser's trajectory, swords will fall from the sky and impale the ground, damaging players who are hit. |
In his first form, Ashtaroth attacks are upgraded versions of his regular attacks. The sword and magic combo creates flames when attacking with the sword and finishes with a dark sphere similar to Thanatos' attack, dealing way more damage but is very clunky and slow. Ashtaroth may also attack with an upgraded version of [[Spell Knight]]'s Kanavan Strike, summoning larger swords and employing them in full-map range; the swords can appear anywhere and at a random but set pattern. When the "JUMP" warning appears, he will deal a heavy attack with his sword slamming the ground; players will also be damaged if they are hit by his sword. Ashtaroth will occasionally banish his sword to use a technique similar to [[Prime Knight]]'s Birth of Blades, summoning red lasers that home in on the player's location; following the laser's trajectory, swords will fall from the sky and impale the ground, damaging players who are hit. |
||
| − | ==== |
+ | ====Demon Ashtaroth==== |
[[File:Secret_Project_Achemedia_Final_Monster_08.png|thumb|300px|Demon Ashtaroth]] |
[[File:Secret_Project_Achemedia_Final_Monster_08.png|thumb|300px|Demon Ashtaroth]] |
||
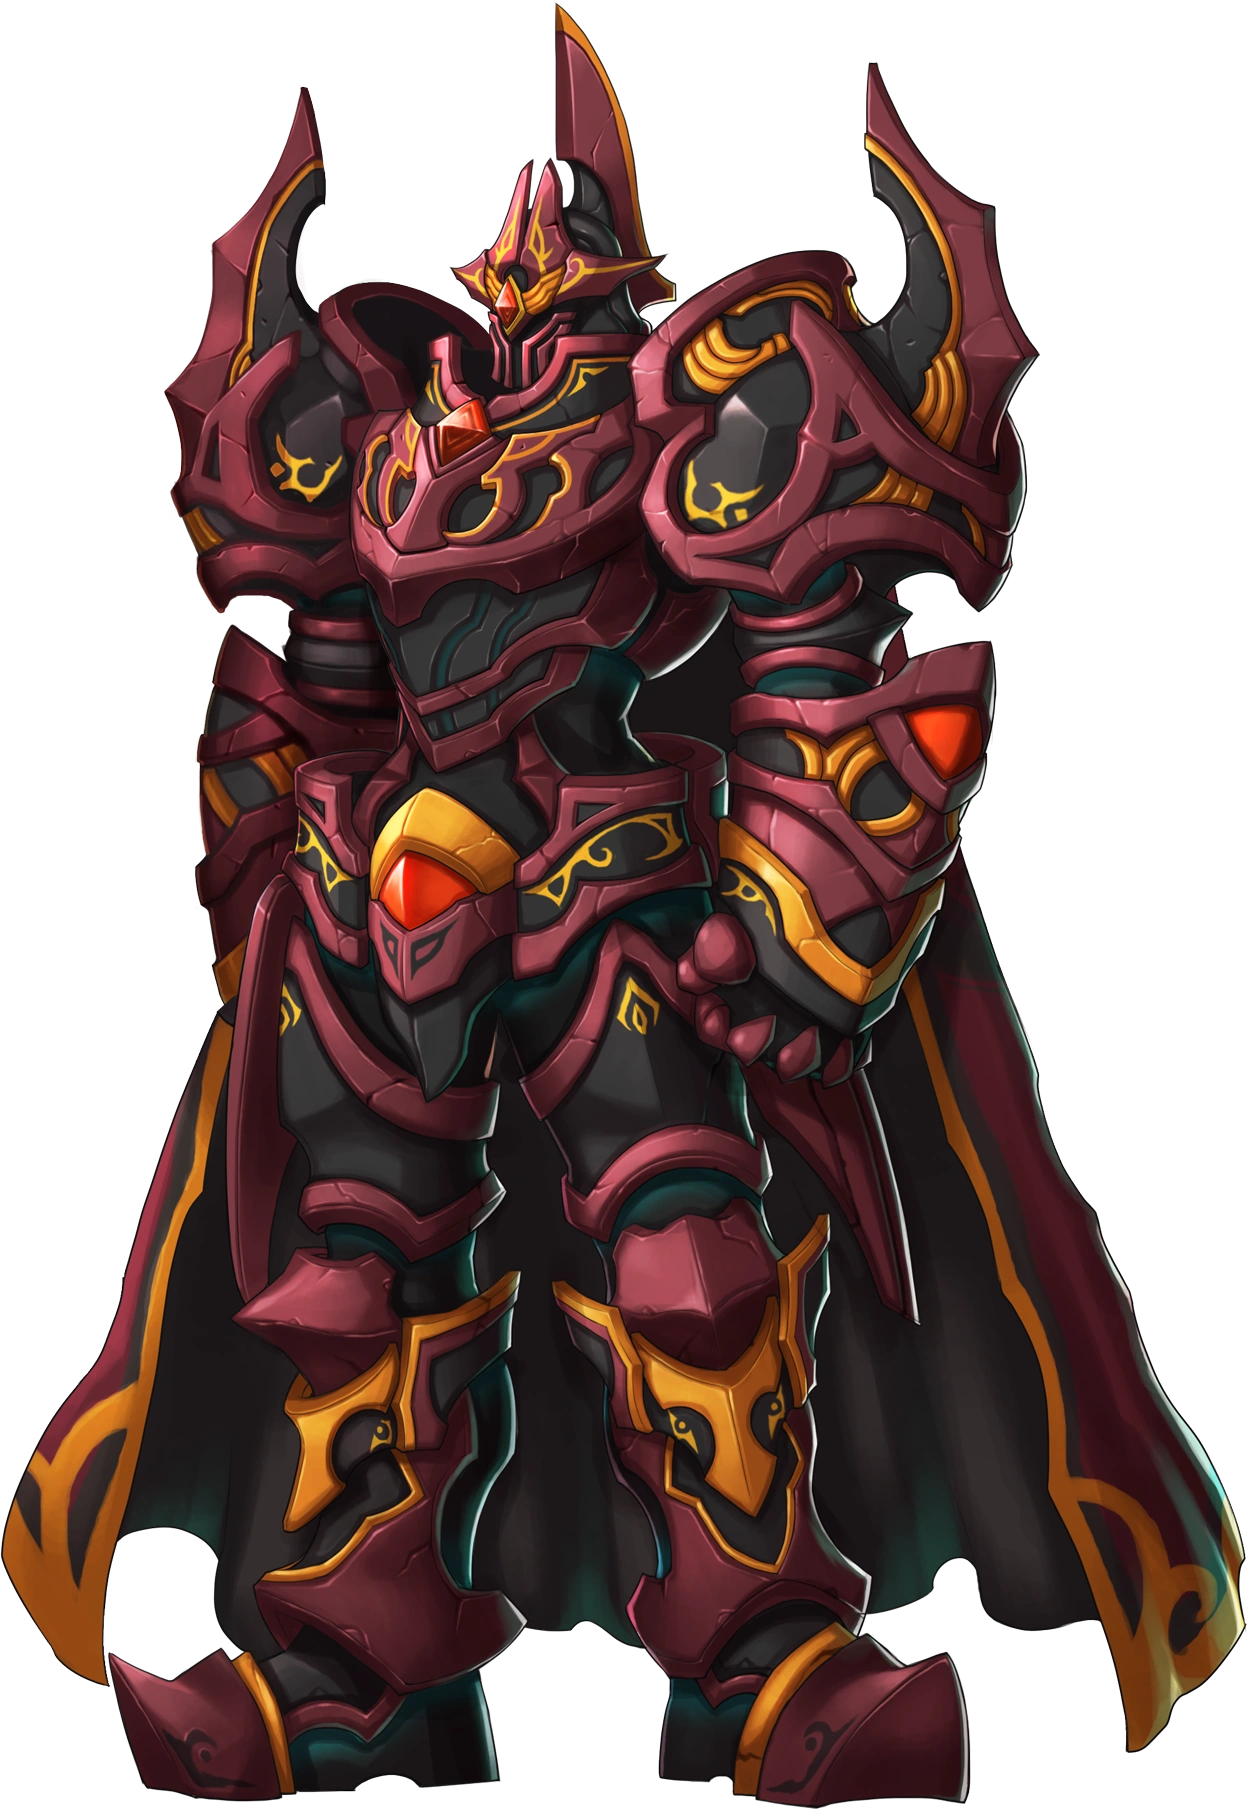
Using the power of the [[Aernas Hammer]], Ashtaroth turns into a large colossal demon with cracks of lava flowing around his body, towering over the entire battlefield. |
Using the power of the [[Aernas Hammer]], Ashtaroth turns into a large colossal demon with cracks of lava flowing around his body, towering over the entire battlefield. |
||
| Line 68: | Line 68: | ||
The only way to deal damage to Demon Ashtaroth is by hitting his head or his chest. |
The only way to deal damage to Demon Ashtaroth is by hitting his head or his chest. |
||
| − | ==== |
+ | ====God Ashtaroth==== |
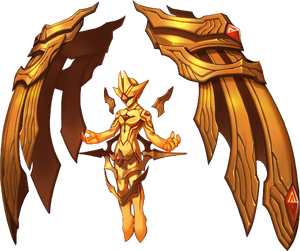
[[File:Secret_Project_Achemedia_Final_Monster_09.png|thumb|300px|God Ashtaroth]] |
[[File:Secret_Project_Achemedia_Final_Monster_09.png|thumb|300px|God Ashtaroth]] |
||
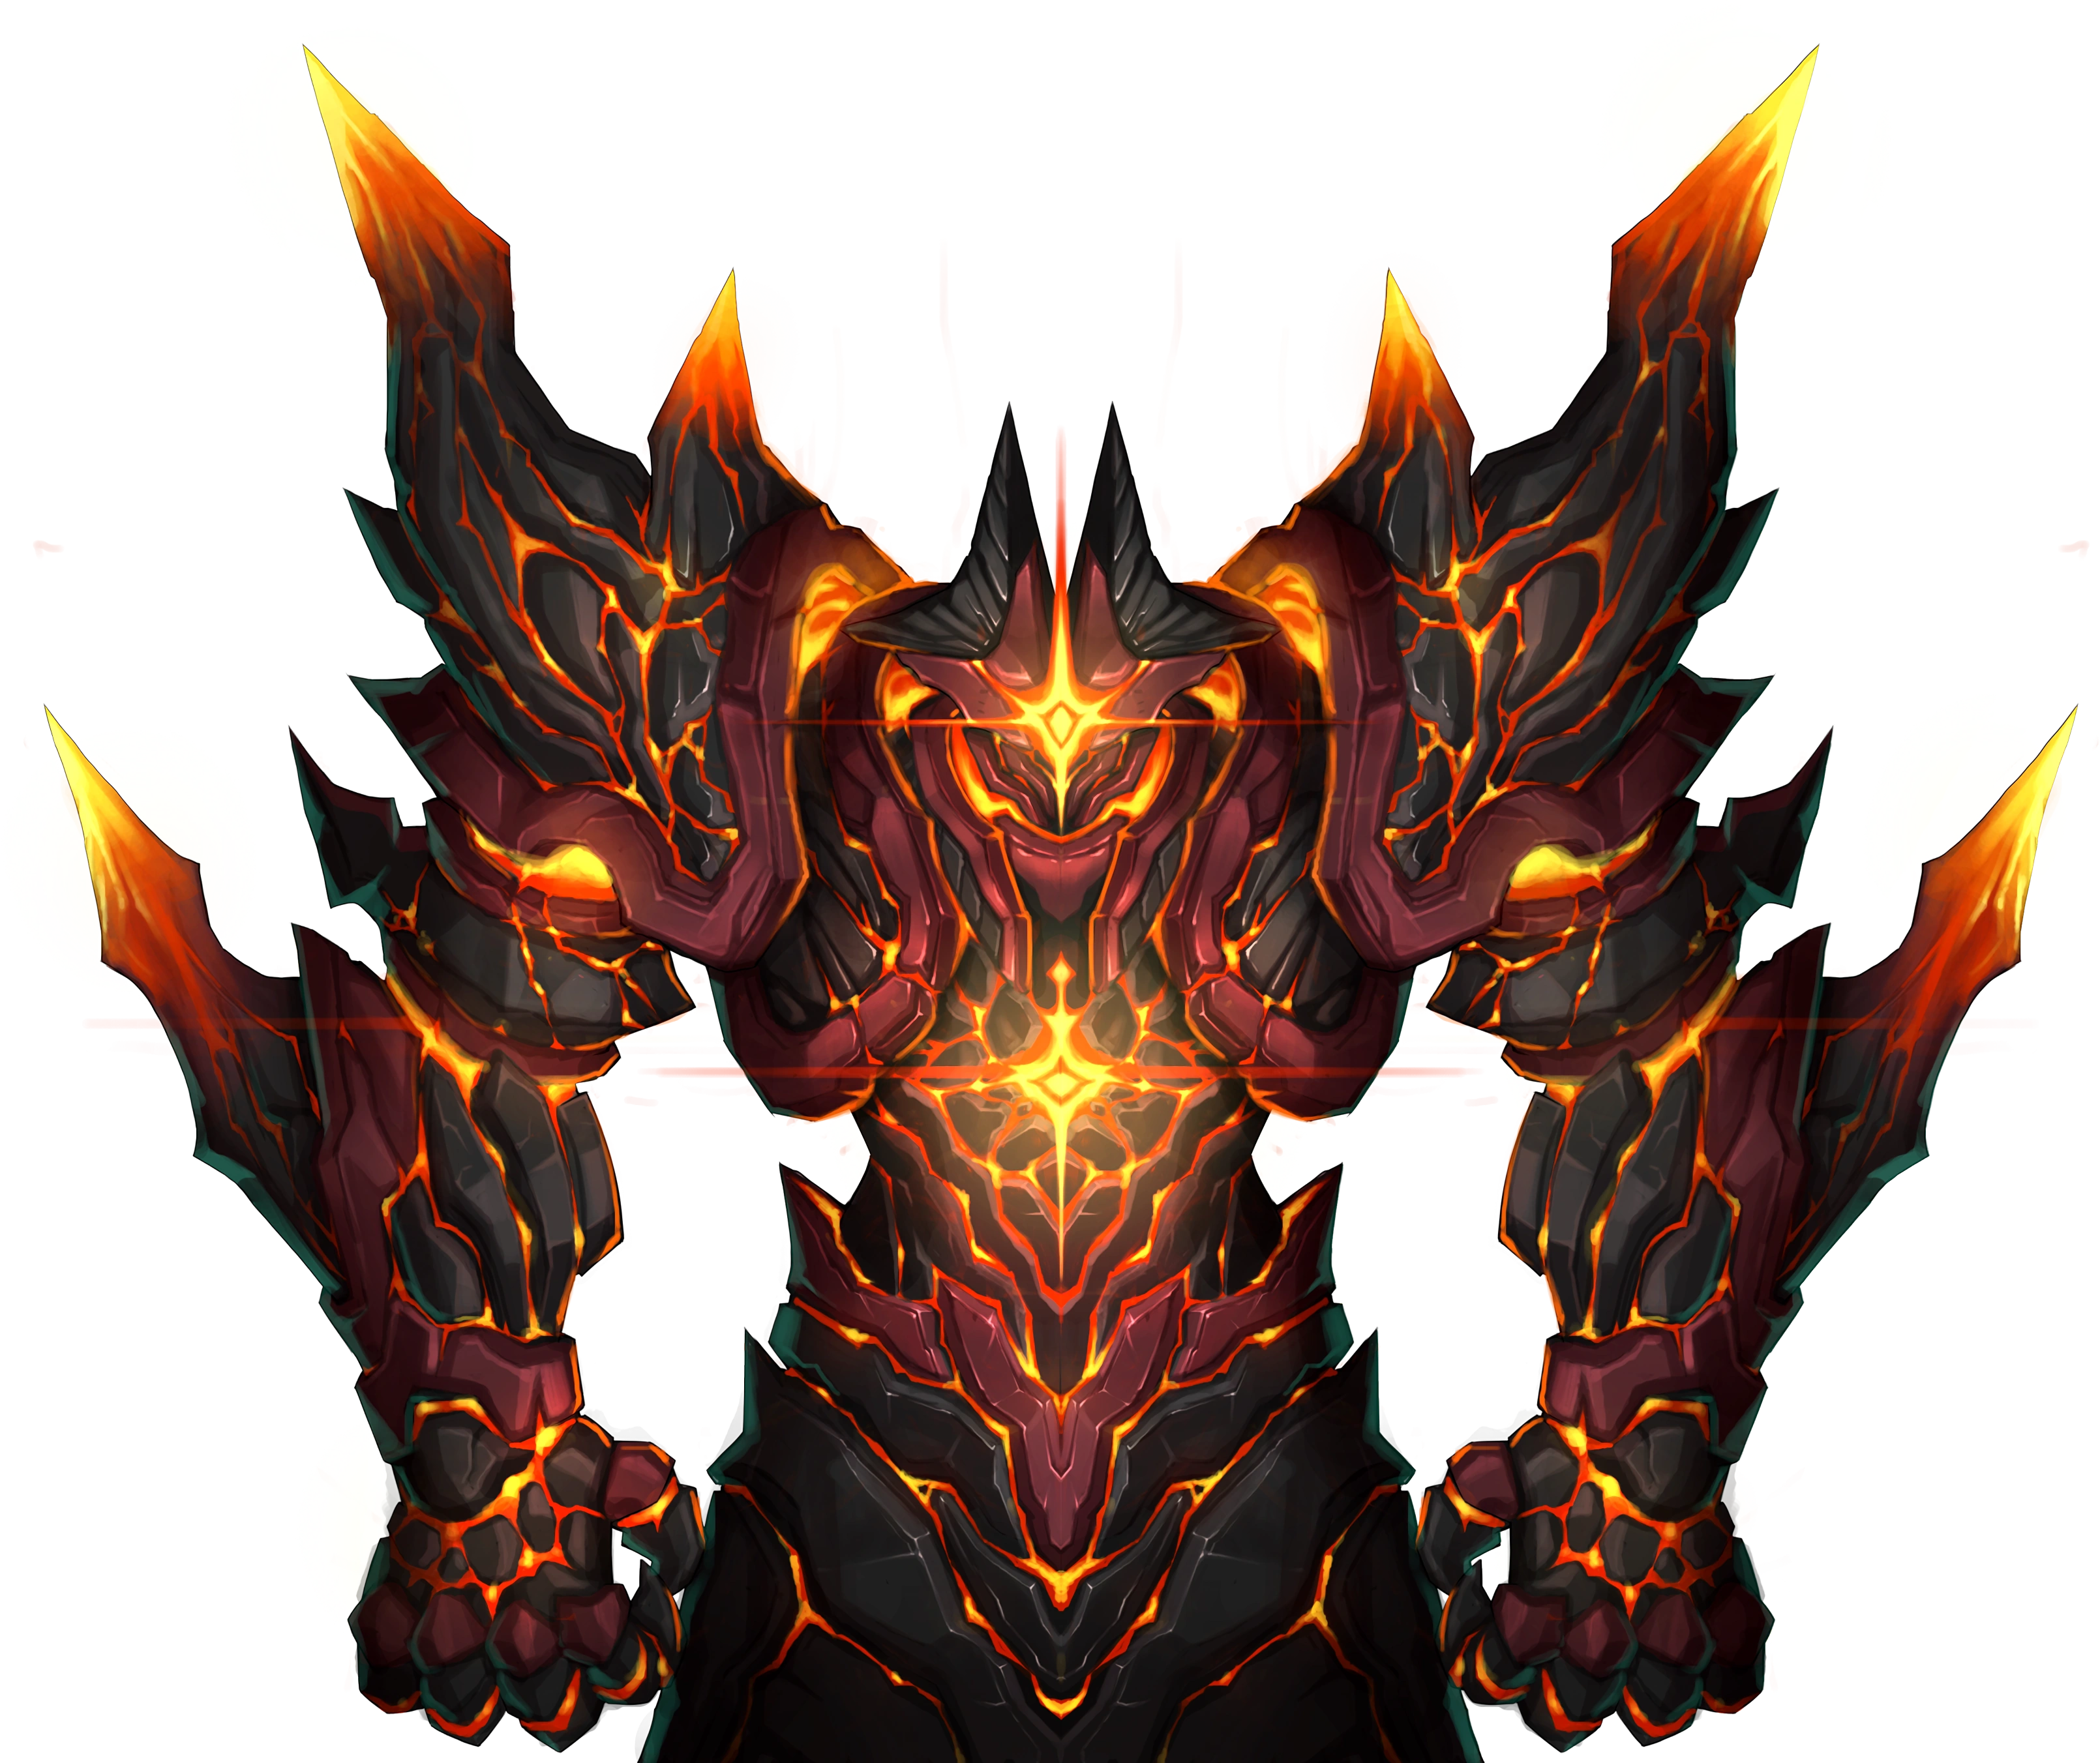
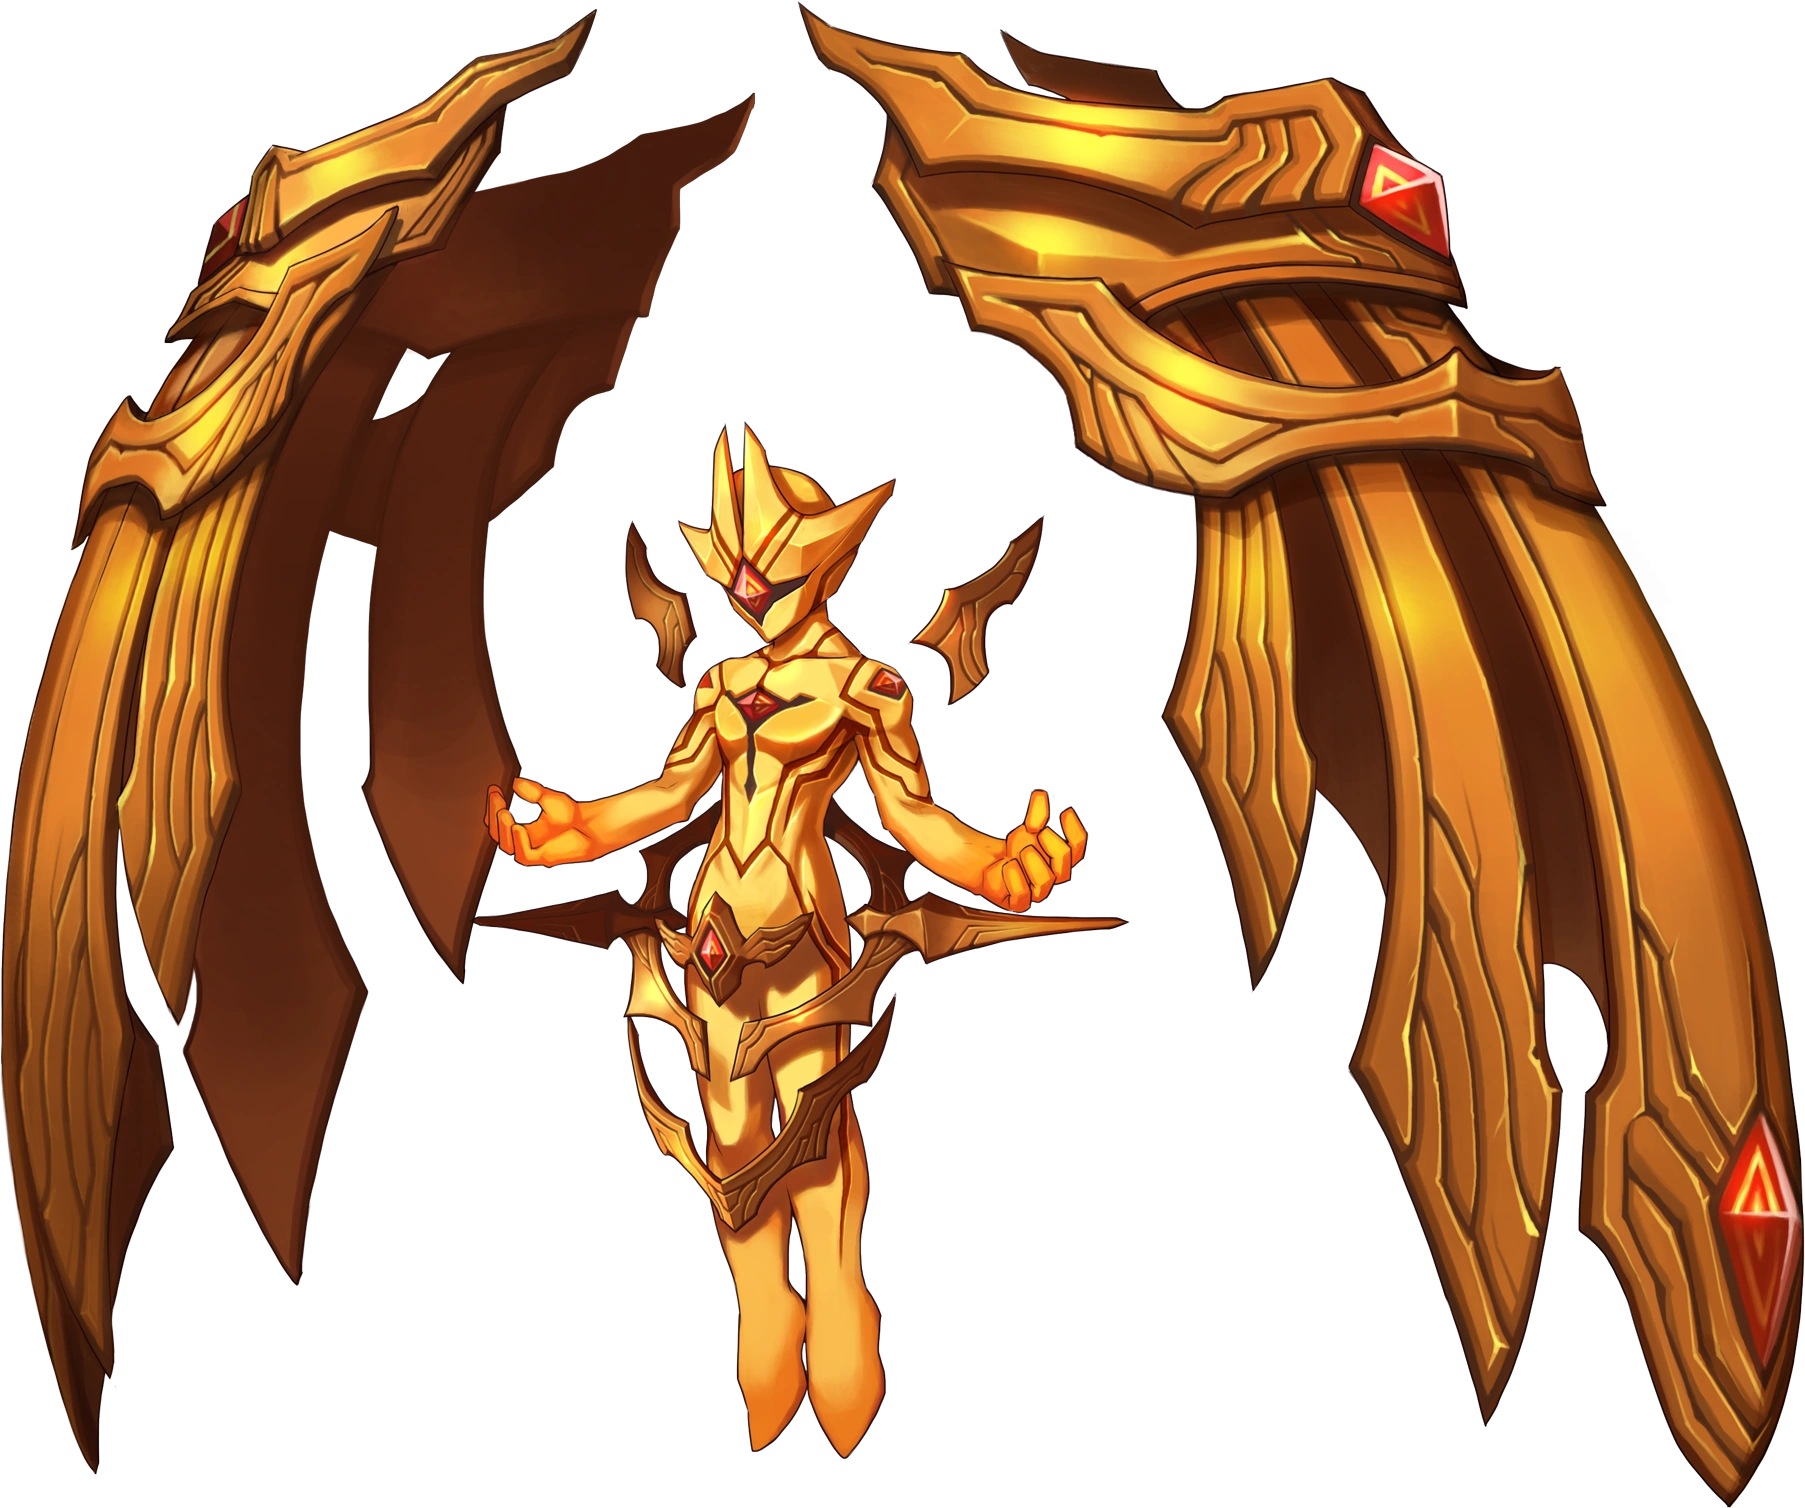
Employing the full power of the [[Aernas Hammer]], Ashtaroth once again transforms into a golden-like entity with seraph wings hovering around him. |
Employing the full power of the [[Aernas Hammer]], Ashtaroth once again transforms into a golden-like entity with seraph wings hovering around him. |
||
| Line 74: | Line 74: | ||
Ashtaroth will summon 2 halos in front of him that will fire lightning bolts, forewarned by a small beam of electric charge. When Ashtaroth creates a black and yellow orb, he will summon a vortex that will pull in players which will instantly kill them if they are caught in it. If the same orb is summoned above Ashtaroth's head, he will call upon meteors to bombard the map, dealing high damage if they hit the player. When Ashtaroth starts flying, he will surround himself with his wings and use all of his attacks simultaneously; at this point, Grandiel will summon a blue-colored barrier over his vicinity, causing all of Ashtaroth's damage to "miss". Finally, three [[Highlander's Illusion]]s will spawn at a time and will be replaced once they are killed. |
Ashtaroth will summon 2 halos in front of him that will fire lightning bolts, forewarned by a small beam of electric charge. When Ashtaroth creates a black and yellow orb, he will summon a vortex that will pull in players which will instantly kill them if they are caught in it. If the same orb is summoned above Ashtaroth's head, he will call upon meteors to bombard the map, dealing high damage if they hit the player. When Ashtaroth starts flying, he will surround himself with his wings and use all of his attacks simultaneously; at this point, Grandiel will summon a blue-colored barrier over his vicinity, causing all of Ashtaroth's damage to "miss". Finally, three [[Highlander's Illusion]]s will spawn at a time and will be replaced once they are killed. |
||
| − | God Ashtaroth cannot be damaged except with the [[Klara Libri]] used by [[Kassias Grandiel]]; |
+ | God Ashtaroth cannot be damaged except with the [[Klara Libri]] used by [[Kassias Grandiel]]; any other attacks dealt to Ashtaroth will do no damage and display a "miss". In order for Grandiel to attack Ashtaroth, the player needs to fill a gauge that will appear under Grandiel by waiting it out by approximately a minute or killing the Highlander's Illusions that Ashtaroth summons, in which Grandiel will fire a homing orb that does a fair amount of damage to Ashtaroth health. If the [[Drama Cube]] behind Ashtaroth is destroyed, Grandiel's charging speed will double, effectively lowering the time to 30 seconds. This part of the battle is merely a test of patience and avoidance. |
| − | Kassias Grandiel is stationary on the left side of the map and takes no damage at all, |
+ | Kassias Grandiel is stationary on the left side of the map and takes no damage at all. However, if the player gets attacked, Grandiel's gauge charging will briefly halt. Likewise, Ashtaroth always stays at the very center of the area. |
==Appearances== |
==Appearances== |
||
Revision as of 03:36, 16 October 2014
Ashtaroth, formerly known as Baldinar, is the primary antagonist in the game, having engineered various events that ultimately created the ill-fated events on the Archimedia continent and had led to the creation of the Grand Chase. Baldinar was originally the Prime Minister of Kounat and was also responsible for said kingdom's destruction as well as Kaze'aze's corruption. He later served as Thanatos' right-hand man for unknown reasons, though he betrayed him and stole his powers.
History

Ashtaroth's human form with Kassias Grandiel and a copy of the Klara Libri
Ashtaroth murdering the Highlanders
Many years prior to the game's events, Baldinar was the Prime Minster of Kounat and obtained the original Klara Libri, a book that contained the secrets of the world. He followed the book's instructions and created the Soul Stone, however he realized too late that the stone could only be controlled by the Kounat Royal Family, who could withstand the Geas imposed upon them by the gods. The Aernas Hammer, powered by the stone, went haywire and destroyed the entire kingdom, leaving Mari as the sole survivor. The destruction also inadvertently created the Dwarf-Elf War on the Archimedia continent, as the explosion had also killed their kings and the two sides had blamed each other for the incident ever since.
When Sieghart was saved from near death by the Highlanders, he accidentally left traces to their training grounds, which Ashtaroth soon picked up on. Ashtaroth massacred them all with his own hand, except for Sieghart who was not present at the time, eliminating anyone capable of stopping his plan of becoming the new Creator God. He also put a barrier that prevented anyone from leaving the ruins.
Sometime before the Serdin/Kanavan War, he attacked Karina Erudon, former Serdin Princess Enna, former Kanavan Princess Anyu, and several royal families at the Gorge of Oath, resulting the death of all the royal families and had transformed Karina into a demon as she defended the two princesses. Karina was then blamed for genocide against the royal families and banished from Kanavan for all eternity, causing her to grow hatred for humanity. Ashtaroth then appealed to Karina and taught her how to harness her dark magic, changing her into the demonic monster known as Kaze'aze.
Story
Ashtaroth is introduced in Valstrath, where he attempted to get rid of the "worms" that meddled with his God. Intercepted by Vanessa, he attempts to rid them with his familiar, Mynos. This fails, and he leaves while stating he will observe their next movements. Although Amy gets infuriated as he's "spying" on them, Vanessa advises that Ashtaroth was just being cautious, though he was supposed to guard his master's temple.
After defeating Thanatos, Ashtaroth appears to take his Orb of Ascendancy, and flees to Archimedia. Before he leaves, he realizes that Sieghart and Mari are the two last survivors of Kounat, and mentions that all the Highlanders were exterminated by his hand.
In the events of Thunder Hammer, Void steals the Deity Orbs and brings them to Ashtaroth. At the same time, Ashtaroth uses the Orb of Ascendancy to unseal demons. Mari, who had most of her memories returned shortly after that point, theorizes that Ashtaroth is using the Deity Orbs to recreate the Soul Stone to wreak havoc yet again.
Sometime after Relics of Kounat, Kassias Grandiel warps the Grand Chase to his Labyrinth and has them re-fight more powerful versions of every single enemy they had faced in the past in order to prepare them against Ashtaroth.
During the events of the Monster Train 301, Ashtaroth appeared once again to attack the Grand Chase with his newly formed Soul Stone (though Sieghart knew that the Soul Stone is unstable without Mari). He claimed that he used the stone against the Existors and the Violet Mage guild to "test" its power, much to Ronan and Arme's dismay. He manages to fatally wound Harpe, who sacrificed himself to shield Ronan from an attack. As he was about to finish off the group, Grandiel appeared and told the Grand Chase to enter a portal that will lead to the Underworld Express Train to save Harpe's soul, while attempting to hold off Ashtaroth.
In Zeruel Border, Dahlia, the special forces leader of Zeruel's dark elves, reveals to be in league with Ashtaroth. After four battles, Dahila reveals to have been delaying the Grand Chase for Ashtaroth to continue on with his plans, then leaves.
In Zeruel, Dahlia reveals Ashtaroth's plan to Gilberta: he will use the Aernas Hammer once again to annihilate the world and recreate it in his own image in order to gain power that rivals Gods. When the Grand Chase arrive to assist Gilberta in defeating Quoronnos, a "present" left by Dahlia, the dark elf queen reveals Ashtaroth's plan to them, and lends the Chase their airship to reach Kounat's capital, where Ashtaroth lies.
In Kounat's Collapse, shortly after arriving, Kassias Grandiel appears and informs the Chase of Ashtaroth's presence, but their conversation is shortly interrupted by Drawl, causing Grandiel to retreat and leave the Chase to fight the demon.
After the Chase press on and defeat Dahlia, Ashtaroth appears and claims that she no longer has a use due to her incompetence. The dark elf pleads for a second chance, but Ashtaroth kills her and states she can serve by dying. He then summons Highlander's Relics and Graham's Relics before departing, which Sieghart recognizes as the deceased Highlanders during Kounat's destruction. The Chase defeat them, but Grandiel appears and regretfully informs Sieghart that they cannot be saved. After Grandiel defeats Graham with the Klara Libri's clone, the Highlander leader reveals that Ashtaroth intends to activate the Aernas Hammer to recreate the destruction that annihilated Kounat, but Sieghart notes that the weapon cannot be used without its key. After Graham's soul fades away, Sieghart swears vengeance.
The Chase finally confront Ashtaroth in a final battle, and defeat his enhanced human form as well as his transformation into a demon, something that could only have been achieved due to their training in the Wizard's Labyrinth. Grandiel appears and tries to convince his old friend to stop, but Ashtaroth ignores him and uses the power from the Aernas Hammer to transform into a golden god-like entity. Sieghart attacks, but his efforts are wasted when they miss. Grandiel warns that the Chase's attacks are futile, but so long as Ashtaroth does not possess the key to the Aernas Hammer, the Klara Libri's clone can defeat him.
After a long and frustrating battle, God Ashtaroth finally submits defeat. However, the Aernas Hammer suddenly warps its key, Mari, to the field. Void arrives in the nick of time to stop the Aernas Hammer from completing; in response, the Aernas Hammer once again attempts to self-destruct. Grandiel then sacrifices himself by using the Klara Libri to seal himself, Ashtaroth, and the Aernas Hammer in the Wizard's Labyrinth for all eternity.
Ashtaroth also inadvertently created and freed the newly born Uno from the remains of the destruction of the Highlanders. A large pool of blood seemingly guided by spirits carrying the Highlander's bodies, anger, fear, despair, suffering and resentment had formed a humanoid creature over time. The barrier that Ashtaroth placed around the ruins faded away with his demise, allowing the newly formed creature to roam the earth.
Attacks
Valstrath
Ashtaroth's attacks are mostly a mix of sword play and magic, most of which resembling Ronan's. His basic combo, similar to Spell Knight's Giga Crash, traps players and ends with a small burst of magic. He can also shoot out a small dark ball of energy that shoots out in a straight line and disappears off the edge of a stage if it does not hit a player, mirroring Spell Knight's Lunatic Force, but is much faster and does not freeze; he lets out a small chuckle and lefts up his arm before the move actually releases, allowing players to try and get out of the way. Ashtaroth can also use an attack similar to the Spell Knight's Kanavan Strike, but with a much wider range. It should be noted that the range of this attack is much wider in the direction that Ashtaroth is facing, so moving behind Ashtaroth in order to dodge this move is helpful. Sometimes, when he is knocked airborne, he jumps up and does an attack that is similar to the Dragon Knight's Dragon Dive. Finally, when he recovers, he may perform an attack similar to Magnus Dan's Turning Breaker.
Once the players "defeat" him (bring his HP down halfway), he uses an attack similar to the Battle Mage's Deep Impact that doesn't hurt the players, as it is part of a cutscene. He does use this move occasionally in the next room, as he is a part of the battle, hanging in the top right of the stage, however during this phase he is intangible. Any buff that Ashtaroth has transfers into his meteors as well.
He can hurt players with the mentioned skill during the boss battle, denoted with a "DANGER" warning, and if he has a special status (petrify, freezing, etc.) it can affect the players if they are hit. When the warning comes, players then must hide in the very bottom left corner of the stage near Vanessa or they can die.
Kounat's Collapse
Ashtaroth
Ashtaroth
His self-proclaimed "true form", normal Ashtaroth appears many times as large than his previous appearances and is armed with a massive sword.
In his first form, Ashtaroth attacks are upgraded versions of his regular attacks. The sword and magic combo creates flames when attacking with the sword and finishes with a dark sphere similar to Thanatos' attack, dealing way more damage but is very clunky and slow. Ashtaroth may also attack with an upgraded version of Spell Knight's Kanavan Strike, summoning larger swords and employing them in full-map range; the swords can appear anywhere and at a random but set pattern. When the "JUMP" warning appears, he will deal a heavy attack with his sword slamming the ground; players will also be damaged if they are hit by his sword. Ashtaroth will occasionally banish his sword to use a technique similar to Prime Knight's Birth of Blades, summoning red lasers that home in on the player's location; following the laser's trajectory, swords will fall from the sky and impale the ground, damaging players who are hit.
Demon Ashtaroth

Demon Ashtaroth
Using the power of the Aernas Hammer, Ashtaroth turns into a large colossal demon with cracks of lava flowing around his body, towering over the entire battlefield.
Demon Ashtaroth attacks by firing a laser from one end of the map to the other from his head, creating many explosions that leave behind stray flames. When the "JUMP" warning appears, Ashtaroth will slam the ground with his hand, followed by a fierce blow towards the player depending on which hand he uses - if he attacks with the right hand, his blow will hit all players on the upper platforms; if he attacks with his left hand, he will damage the players on the lower ones. At one point, Ashtaroth will be outraged and the "JUMP" warning will appear, before he slams the ground with both hands, causing large flame pillars to burst from the ground at a set pattern.
The only way to deal damage to Demon Ashtaroth is by hitting his head or his chest.
God Ashtaroth
God Ashtaroth
Employing the full power of the Aernas Hammer, Ashtaroth once again transforms into a golden-like entity with seraph wings hovering around him.
Ashtaroth will summon 2 halos in front of him that will fire lightning bolts, forewarned by a small beam of electric charge. When Ashtaroth creates a black and yellow orb, he will summon a vortex that will pull in players which will instantly kill them if they are caught in it. If the same orb is summoned above Ashtaroth's head, he will call upon meteors to bombard the map, dealing high damage if they hit the player. When Ashtaroth starts flying, he will surround himself with his wings and use all of his attacks simultaneously; at this point, Grandiel will summon a blue-colored barrier over his vicinity, causing all of Ashtaroth's damage to "miss". Finally, three Highlander's Illusions will spawn at a time and will be replaced once they are killed.
God Ashtaroth cannot be damaged except with the Klara Libri used by Kassias Grandiel; any other attacks dealt to Ashtaroth will do no damage and display a "miss". In order for Grandiel to attack Ashtaroth, the player needs to fill a gauge that will appear under Grandiel by waiting it out by approximately a minute or killing the Highlander's Illusions that Ashtaroth summons, in which Grandiel will fire a homing orb that does a fair amount of damage to Ashtaroth health. If the Drama Cube behind Ashtaroth is destroyed, Grandiel's charging speed will double, effectively lowering the time to 30 seconds. This part of the battle is merely a test of patience and avoidance.
Kassias Grandiel is stationary on the left side of the map and takes no damage at all. However, if the player gets attacked, Grandiel's gauge charging will briefly halt. Likewise, Ashtaroth always stays at the very center of the area.
Appearances
- Valstrath
- Fortress of Ascension (Dialogue)
- Hammer's Reach (Mentioned)
- Thunder Hammer (Mentioned)
- Monster Train 301 (Dialogue)
- Zeruel Border (Mentioned)
- Zeruel (Mentioned)
- Kounat's Collapse (Boss)
Trivia

Grand Chase Glitch - Killing Ashtaroth
Defeating Ashtaroth (Glitch)
- There was a glitch where players could defeat Ashtaroth in Valstrath. During the fight with Mynos, When hitting him while he attempts to use his Deep Impact, Ashtaroth may get struck, causing him to be knocked down and will attack players like in the previous room. He will return back to his position if he attempts to cast Deep Impact again, forcing players to repeat the process. Upon his defeat, Ashtaroth is removed from the battle, and he makes a loud "Ching" sound; when the "DANGER" warning appears again, no meteor shower will occur. The glitch has since been patched.
- Due to the fact that his fighting style is almost the equivalent of Ronan's as a Spell Knight, players speculate that he may have been one of the Queen of Kanavan's guardians before the main storyline of the game, though with the expansion of Kounat's story indicates this is obviously not true.
- Magnus Dan shares several similarities to Ashtaroth.
- Their appearance is very similar.
- Both utilize Turning Breaker.
- Both summon a dragon-like creature, though Dan's one is smaller for gameplay considerations. Also, Dan's summon is very identical to Ashtaroth's familiar.
- Ashtaroth, upon his ascension to power in Kounat's Collapse, bears many similar traits to Thanatos.
- Both are power-hungry creatures with ambitions of taking over the world.
- Both manipulate and use others to their expense and dispose their minions after they were defeated by the Grand Chase. Thanatos used Victor to conquer Silver Land and left him to die by the Grand Chase's hand; Ashtaroth waited for the Grand Chase to finish off Thanatos so he could steal his Orb of Ascendancy and later had Dahlia as a minion only to execute her after the Grand Chase defeated her.
- Both possess three different forms as well as god-like power.
- Both were defeated by powerful, legendary objects. Thanatos was defeated by the Deity Orbs; Ashtaroth met his demise by the Klara Libri's clone.
- Veigas bears a striking resemblance to Ashtaroth's human form.
- Demon Ashtaroth's appearance and attacks resemble those use by King Nasod from Elsword.
- Strangely, despite being the game's primary antagonist as well as the final boss of the Archimedia continent, Ashtaroth in Kounat's Collapse has extremely few abilities; his first form only has four attacks, his second form only has three attacks, and his third and final form only has three attacks, can use all his attacks simultaneously, and summons.
- His name is derived from Astaroth, a powerful demon.
- He wears the Grand Champion Set that was released during the Champion Ticket Event.
- Technically he is the "true" boss of Valstrath, not Mynos. Mynos is his "minion."
- Ashtaroth's from Valstrath also appears in Xenia's Boss Gate, though unlike the encounters in Valstrath, he can be defeated.
- Ashtaroth is also the only non-boss to be summoned from a Boss Gate.
- The Aernas Set is based off on God Ashtaroth's appearance.